Creating moodboards is an essential part of my process as a brand and website designer, and it's also super fun! But a lot of new freelance designers struggle to understand why moodboarding is so vital to the brand and website design process.
Maybe the studio you work for has never incorporated moodboards into their design process?
Maybe you struggle to see how pretty photos of homeware and a few splashes of colour can truly impact your design projects?
Maybe you think moodboarding is a waste of time?
Trust me, moodboarding is essential to your brand and website design process and in today's post, I'm going to show you why + how to create your moodboards!
Why create moodboards for your design clients?
The purpose of a moodboard is to capture your client's desired website + brand style in one glance. The moodboard will help you achieve three things:
- It establishes a colour palette.
- It ensures you and your client are both on the same page regarding the aesthetic they're looking for and the vibe they want their brand to give.
- Instead of continually having to open up their Pinterest board, you can simply open up their moodboard in Photoshop or Illustrator and keep it in view while designing. This helps you to stay on-brand with everything you design.
Once you have this moodboard, you can confidently move on to designing because you fully understand what style, vibe and colours your clients are looking for.
Why create a moodboard if your client has already created a Pinterest board?
If you're in my course, Organize & Automate, you may already be getting your clients to create a secret Pinterest board filled with design inspiration.
If so, you may be thinking: Why do I need to also create a moodboard?
Here's why:
Yes, a Pinterest board of design inspiration is the perfect start to your design projects because it gives you a window into your client's aesthetic and wants. But clients can be very complex. They may pin images that are feminine and images that are modern and bold.
When they do this, how do you know which style you should pursue for their brand? Feminine? Or modern and bold??
That's where a moodboard comes in.
You can create two moodboards that depict both styles, and give each moodboard its own colour palette. Then you can ask your client to choose just one moodboard to guide the style and vibe of their project.
Here's a look at my design process and how moodboarding fits into my system.
The Step-By-Step Moodboard Process
01. The client creates a Pinterest board.
After my client books their slot in my schedule, I get them to fill out a questionnaire and create a Pinterest board filled with design inspiration.
The questionnaire will provide me with their goals, purpose, target market and other strategic elements of their business, while the Pinterest board will provide me with a good sense of the design styles they like.

I ask my clients to pin a minimum of 5 logos, 5 photos, 5 patterns, 5 fonts, 5 website designs and 5 color palettes, but they usually go crazy (which I love!) and pin lots more.
When they're done, I analyze the Pinterest board for patterns. Do they pin a particular colour a lot? A particular font style? Are the photos they pin following the same style?
Looking for patterns helps me see the design style my client truly wants, and stops me from creating designs they don't like.
02. Narrow down the images
As I mentioned earlier in this blog post, sometimes your clients will pin images from a range of different styles. That's why you need to ask your clients to narrow down on their images!
After my clients have completed their Pinterest board, I ask them to leave a comment on the 10 images they love the most. In their comment, they have to say what they love about the image.
This helps me narrow down on the design style they truly want and it helps me see which images I should use in their moodboard.
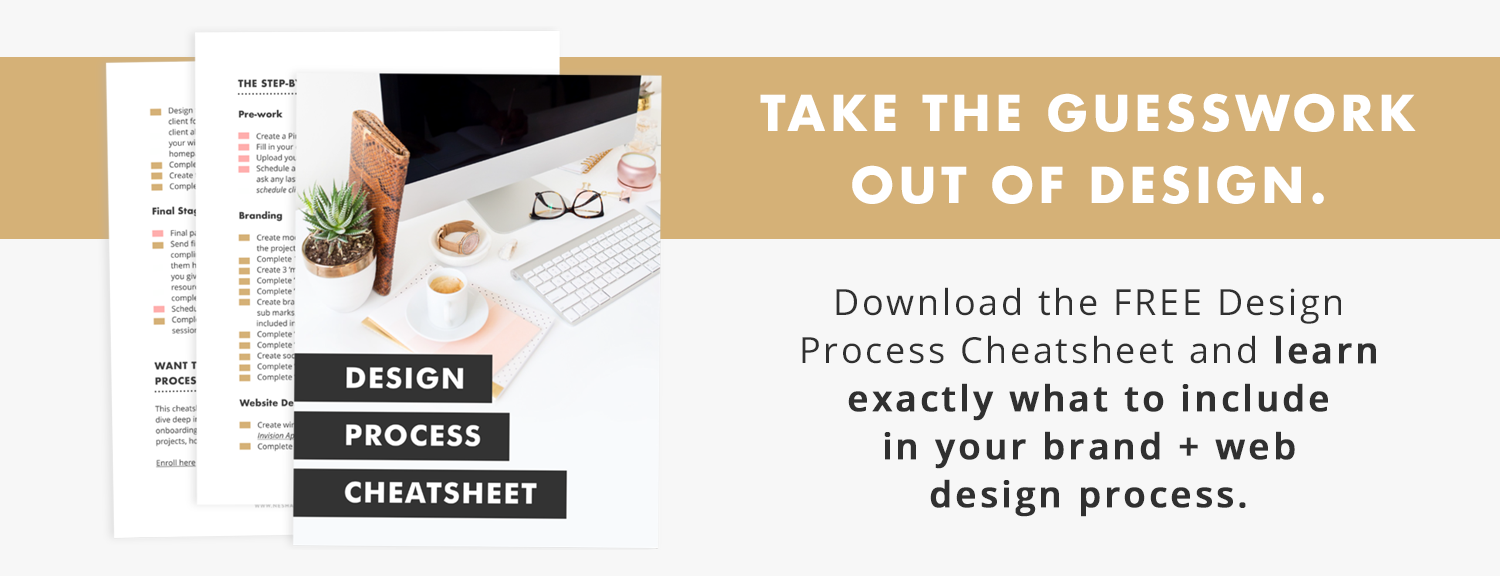
Psst! Want to learn the EXACT steps you should include in your brand & web design process?
Download my FREE cheatsheet >>
03. Decide how to create the moodboard
There are lots of ways to create your moodboard but just choose one.
You can use a free online program like Picmonkey.

Or you can create your moodboard in an Adobe program like Photoshop or Illustrator. As a designer, I prefer Photoshop.
If you prefer Photoshop or Illustrator, you need to create a few moodboard templates you can simply re-use in each project to save time and hassle.
I made 5 FREE moodboard templates for you! Click here to download them.
I also made a quick video tutorial to teach you how to use them in Adobe Photoshop:
04. Create the moodboard
Use the images from your client's Pinterest board to create their moodboard.
If they pinned a variety of styles, create two moodboards depicting the two style they pinned the most. Then ask your client which one they prefer!
If some images don't quite fit with the others in the moodboard, look on Pinterest for similar images that go well with what your client has already chosen.
Important: Try not to include other people's logos and web designs. This can sometimes overly-influence your clients. You may end up with your client asking for a logo that is exactly like the one you included in your moodboard!
Take a look at the moodboards below. They're great examples!

Created By WhitSpeaks.com

Created by saffronavenue.com
05. Send the moodboard to the client
When you've completed your moodboard/s, share them with your client! I like to use a project management tool like Asana to communicate with my clients, so I share the moodboards and all other files through that.

If you don't use a project management tool, send it over email, Dropbox or Google Drive!
Related Post: 5 Reasons Why You Should Use A Project Management Tool
06. Revise The Moodboard
I like to offer one revision round for the moodboard. My clients message me through Asana with their thoughts and feedback about the moodboard, then I make changes based on their feedback!
It's important to emphasize to your clients that the colours in the moodboard can be altered during the design process; they aren't stuck with the moodboard colours from that stage onward. A moodboard is simply a foundation for the colours and brand style. You won't make huge changes to the colours and style as you move forward, but you'll probably make small changes. That's just the evolution of good design!